What can I do with my ChainTRAIL account?
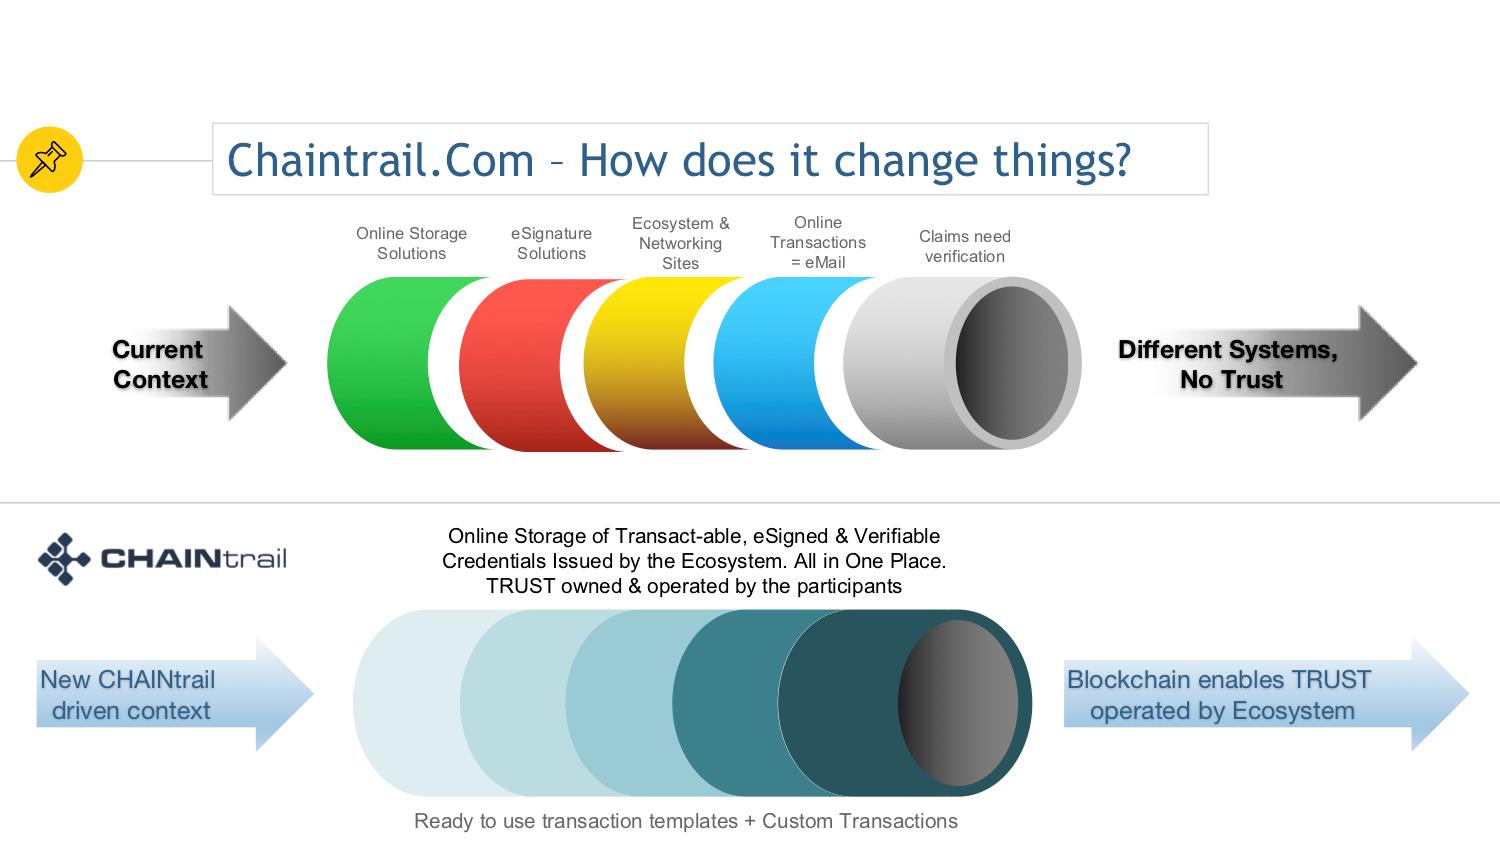
1. Exchange LiveCards: LiveCards and RoloDesk are a great way to digitally exchange and store contact information with your professional & personal network within or outside Chaintrail.Com. Its free for life!
2. eSigned Credentials: Receive, Send or Upload eSinged and verifiable Credentials into ChainTRAIL.Com. All credentials are eSigned and verifiable by anyone you send them to.
3. Interact & Transact: Carryout actions like open bank accounts, eSign documents and many more as the ChainTRAIL.Com ecosystem rapidly expands.
4. New age Online Storage: As you send or receive credentials, transact and carryout your data to day interactions on ChainTRAIL.Com, you create an encrypted and secure online repository of your data. Think of this as a new type of eMail with data and attachments that are verifiable
Getting Started
Congrats! You are about to enter the World’s New Network of Trust - powered by ChainTRAIL.Com!
Creating a Professional account takes less than a minute. On ChainTRAIL.Com, go to ‘Register’ and click on ‘Individual’. Fill out the registration form, verify your Email ID and you are set!
That’s it! Now build your network by exchanging LiveCards, upload/receive/send Credentials and start Transacting with these Credentials. The world is literally at your fingertips!Psssst: A mobile app is on its way!
Work Account

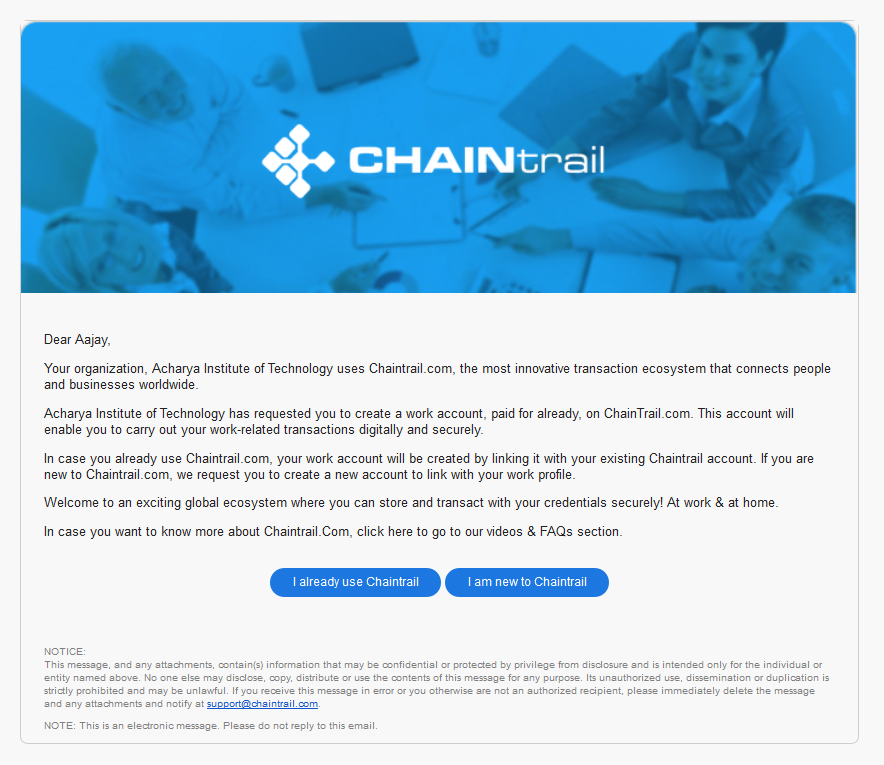
1. Create your personal account by clicking on the link in the eMail you received from ChainTRAIL.Com initiated by your organization’s administrator or go to ChainTRAIL.com>Register>Individual
Tip: Remember to use your personal Email ID to create your personal account so you can access your personal account with all your eSigned personal credentials for life.
2.
Once your personal account is created, you can go ahead and create your work account. Please go to the eMail received from ChainTRAIL.Com initiated by your organization’s administrator and click on the link provided within.
Congrats! Your work account is ready.
Using LiveCards
LiveCards are a great way to exchange and retain personal or professional contact details of all your friends, work mates and people in your business network in your Rolodesk for life. For Free! Few good ways for you to use your LiveCards would be to:
- Start sending your personal LiveCard to all your friends.
- Start sending your personal or professional LiveCards to your business network.
- Send your LiveCard to participants of a meeting before the meeting starts.
Setting up your LiveCards
Once you have created your personal account, your LiveCards (Personal and Professional) will be visible on your Home Page.
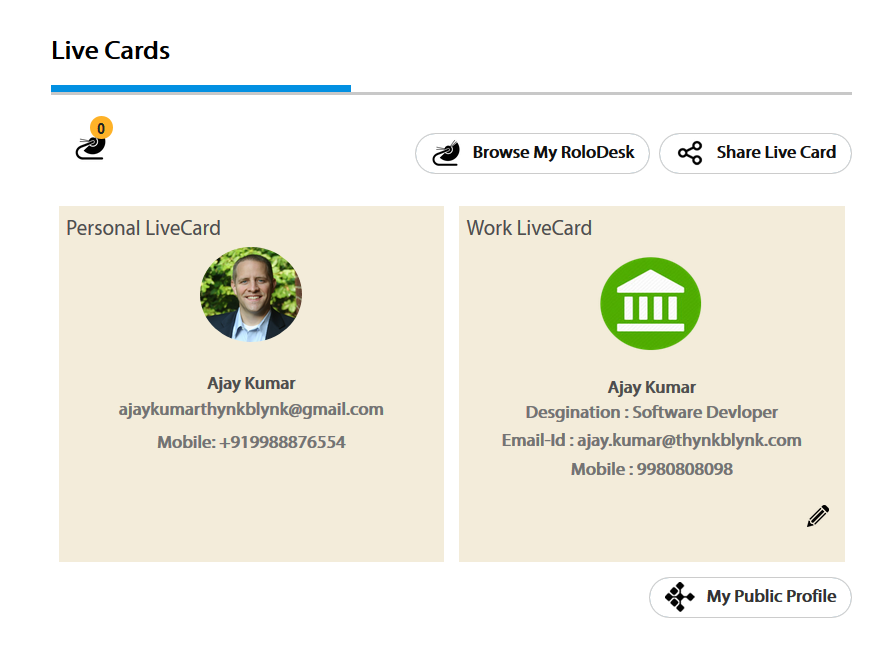
- Your Personal LiveCard is setup automatically based on information you entered at the time of creating your personal account.
- The Rolodesk Icon on top right corner will indicate if you have any pending incoming Rolodesk requests.
- To setup your Professional LiveCard, click on the ‘Edit’ icon on the Live Card (bottom right corner) to setup your information. Same can be don through My Profile> My Info.
Exchanging LiveCards
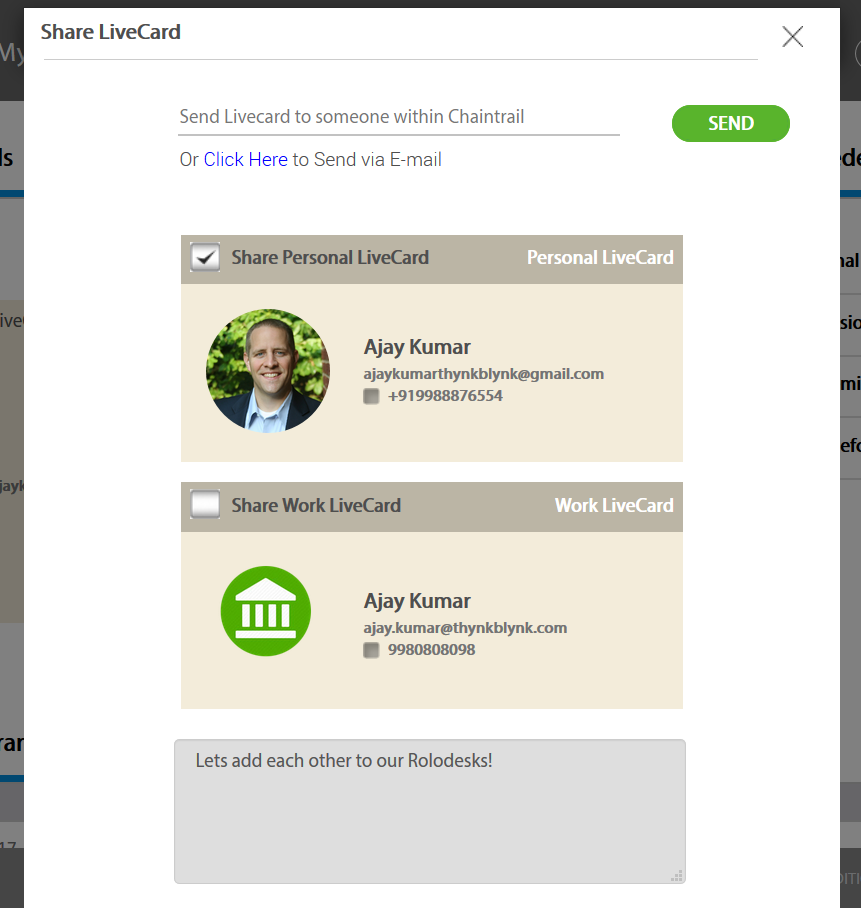
- To exchange LiveCards, click on ‘Share LiveCard’ button as show in the screen grab above.
- Choose the person you want to share LiveCard with by typing their name and selecting from drop down.
- Tick the checkboxes of information you want to share
- In case the person you are sharing your LiveCard with is not currently using CT.Com, you can share your live card over eMail by clicking on “Sent via eMail”.
Transacting with Your Work Account
When you are logged into your work account, you will be transacting on behalf of your employer.
Initiating Actions
You can initiate actions with Individuals or Institutions who already use CT.Com. In case the person you want to transact with is not using CT.Com, its best to send them a LiveCard requesting them to enroll so you can transact with them.
In CT.Com, actions mean any interaction between people or institutions with documents. Please ensure you have uploaded the documents you need for your action are uploaded into your ‘Briefcase’.
Initiating Actions with Individuals
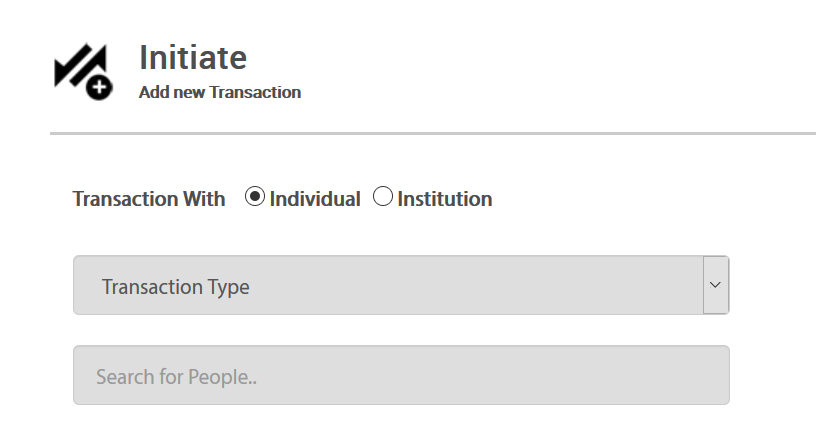
- Go the ‘Actions’ option in the Top menu bar and click on ‘Initiate Action’.
- Individual is preselected. Now please choose the ‘Action Type’ Option. Roll your mouse over the ‘Tip’ icon to understand the types in detail.
- Once you have decided the action type, please search for and choose the person you want to transact with. You can do this by typing name of the person you want to transact with.
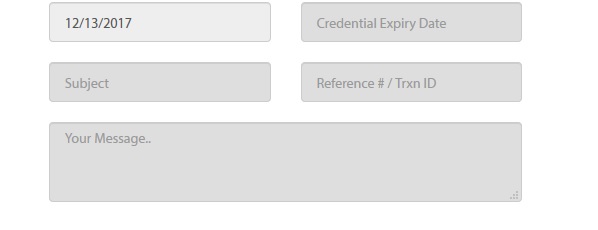
- Please enter action expiry date. After this date the individual will not be able to complete the action nor will they be able to view the document(s) you share.
- Add documents from your Briefcase. Please note the document you need eSigned must be selected first.
Initiating Actions with Institutions
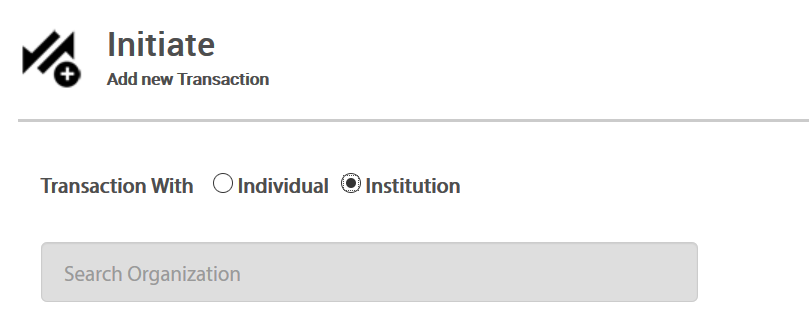
- Please go the ‘Actions’ option in the Top menu bar and click on ‘Initiate Action’.
- Individual option is preselected. Please go ahead and choose ‘Institution’ instead.
- Please search for and choose the institution/business you want to transact with. You can do this by typing name of the Institution/Business you want to transact with.
- Once you have chosen the institution, actions that the institution is allowing will appear in the ‘Action’ drop down. Select the transaction you want to initiate.
- Once you select the action, name and designation of the person responsible to execute the action will appear automatically.
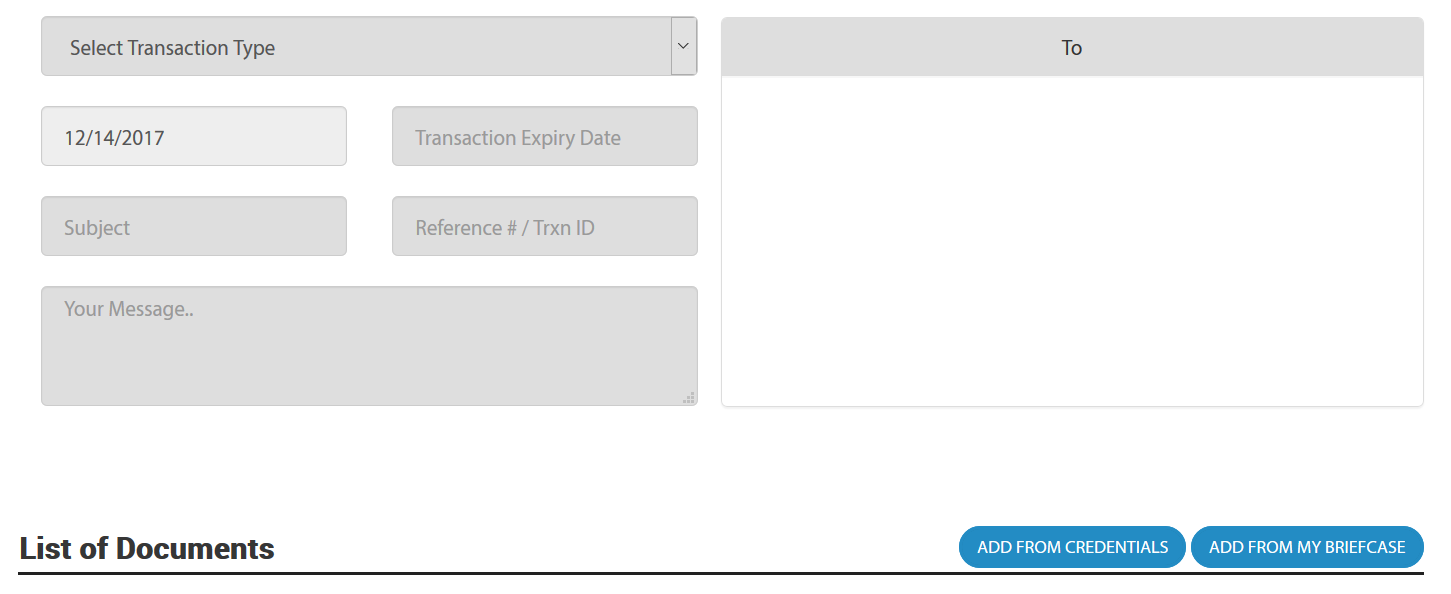
- Please enter action expiry date. After this date, the individual will not be able to complete the action nor will they be able to view the document(s) you share.
- Add documents from your Briefcase. Please note the document you need eSigned must be selected first.

- Once the receiver has performed action on the action you will be notified by eMail.
Issuing Credentials
When you are logged into your work account, you will be issuing credentials on behalf of your employer.
You can issue credentials (offer letters, certificates, salary slips, letters etc) Individuals or Institutions who already use CT.Com. In case the person or institution you want to issue credential to is not using CT.Com, its best to send them a LiveCard requesting them to enroll so you can transact with them. Please ensure you have uploaded the credential document you want to issue into your ‘Briefcase’.
You can issue credentials (offer letters, certificates,
salary slips,
letters etc) Individuals or Institutions
who already use CT.Com. In case the person
or institution
you want to
issue credential to
is not using
CT.Com, its best to send them a LiveCard requesting them to enroll so you can transact with them.
Please ensure you have uploaded the
credential document you want to issue
into your ‘Briefcase’.
Issuing Credentials to Individuals
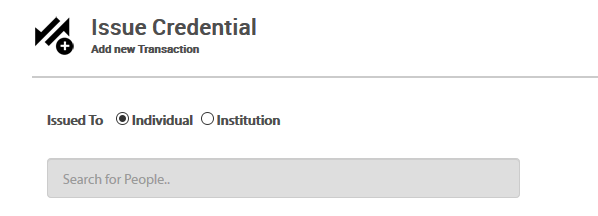
- Go the ‘Actions’ option in the Top menu bar and click on ‘ Issue Credential’
- Individual is preselected. P lease search for and choose the person you want to issue credential to . You can do this by typing name of the person you want to transact with.

- Please enter credential expiry date.
- Add Credential document you want to issue from your Briefcase. Please note you will be able to select only one document in order to issue credential.
Issuing Credentials to Institutions
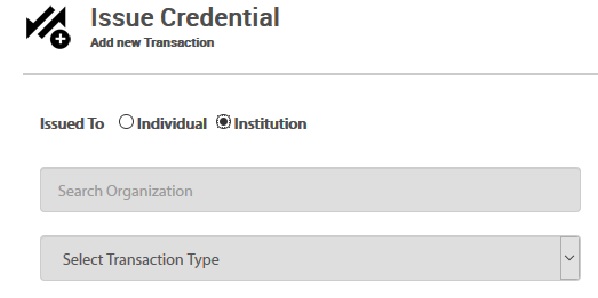
- Please go the ‘Actions’ option in the Top menu bar and click on ‘ Issue Credential’
- Individual option is preselected. Please go ahead and choose ‘Institution’ instead.
- Please search for and choose the institution/business you want to transact with. You can do this by typing name of the Institution/Business you want to transact with.
- Once you have ch osen the institution, select ‘Miscellaneous’, from the ‘Action’ drop down.
- Once you select the action, name and designation of the person responsible to receive the credential will appear automatically.

- Please enter credential expiry date.
- Add Credential document you want to issue from your Briefcase. Please note you will be able to select only one document in order to issue credential.
Working with Templates
Templates in CT.Com make it easy for you and your organization to standardize action formats by using a library of templates or by creating templates that are specific to your organization’s needs.
Global Template Library & Organizations Repository
The global template library can be accessed only by the administrator of an orga nization. It is a library of action and document templates (NDAs, Offer Letters etc) that any organization can use by editing and customizing to their specific needs. The administrator can pick and template they want to use and copy into Organization’ s Repository where these are editable and visible to all employees for transacting purposes.
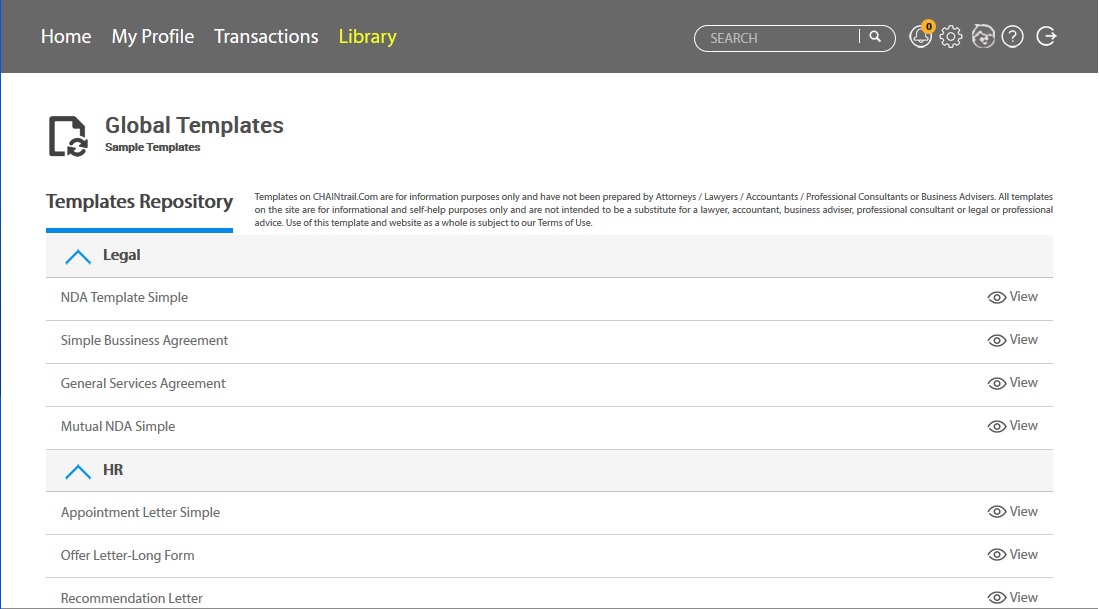
- In case you are an administrator for your organization, please go the top menu and click on ‘Global Templates’ option within the ‘Library’ menu option.
- Click on ‘View’ to look through any template
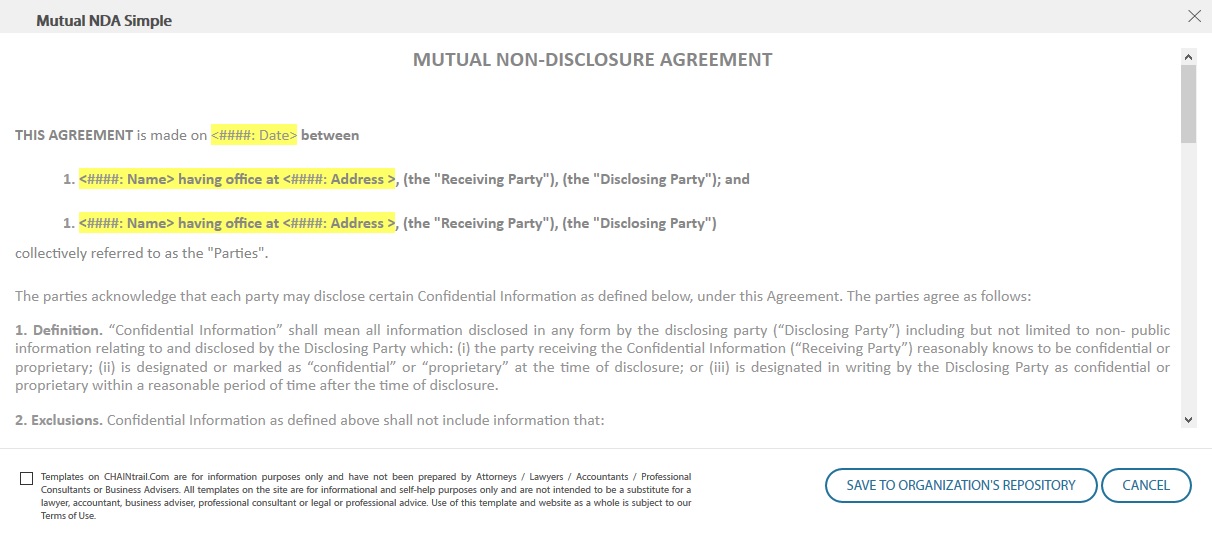
- In case you want to use a template you can do so by clicking on ‘Save to Organization Repository’
- The chosen template is not saved in your organizations repository and can be edited.
- Save the template with a name your employees can understand and edit for future actions.
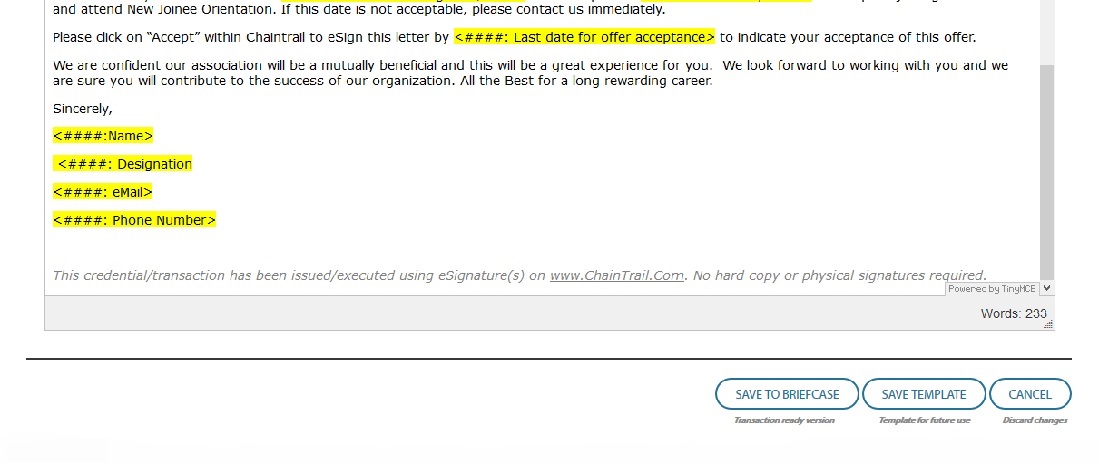
- In the organization’s Repository, employees can pick any template and edit it by inputting data as required and save a ‘Action Ready’ PDF document in their Briefcase.
- If it’s a legal te mplate, it gets saved in the legal folder within the briefcase and so on.
Using the Briefcase
The Briefcase is a place for you to upload and store ‘Work in Progress’ files that you need for initiating
actions or issuing credentials. It is a simple
upload feature like any other online folder service you
might have used.
To open your briefcase, go to the top menu and click on ‘Briefcase’ within the ‘Library’ menu item
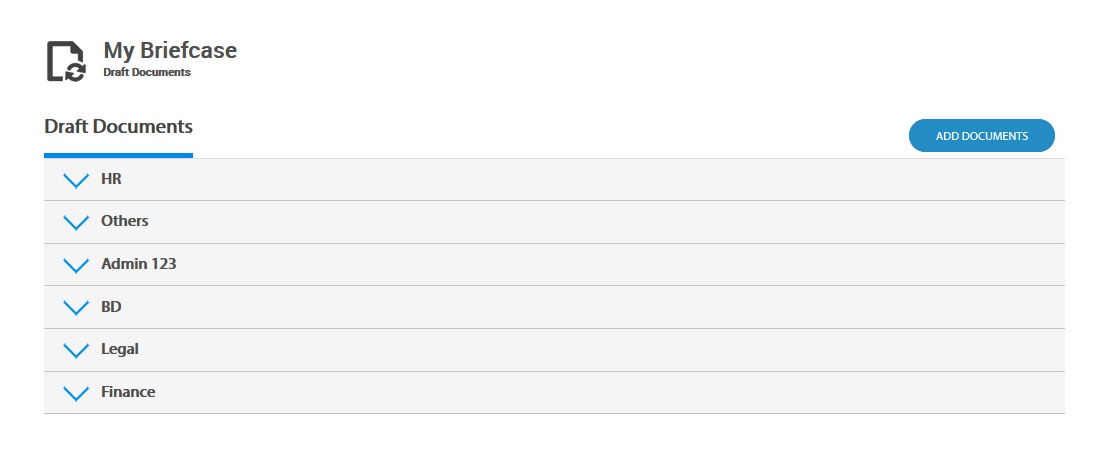
Click on add documents and upload PDF files as required. To make it easy to catego
rize files, use pre
-
created folders within the Briefcase
